
Clerk, Next.js 14 and Drizzle ORM boilerplate.
When developing a web application with Next.js, leveraging robust tools and services can significantly streamline the development. Clerk is a comprehensive authentication solution designed to simplify user management, offering a wide range of authentication methods and features with minimal setup. On the other hand, Drizzle ORM is an emerging object-relational mapping tool that promises a smooth database interaction experience that enables developers to write more intuitive and maintainable database queries. Pairing these with Neon, a PostgreSQL-compatible database that offers scalability and ease of management, sets a strong foundation for building scalable, secure, and efficient web applications.
Authentication with Clerk
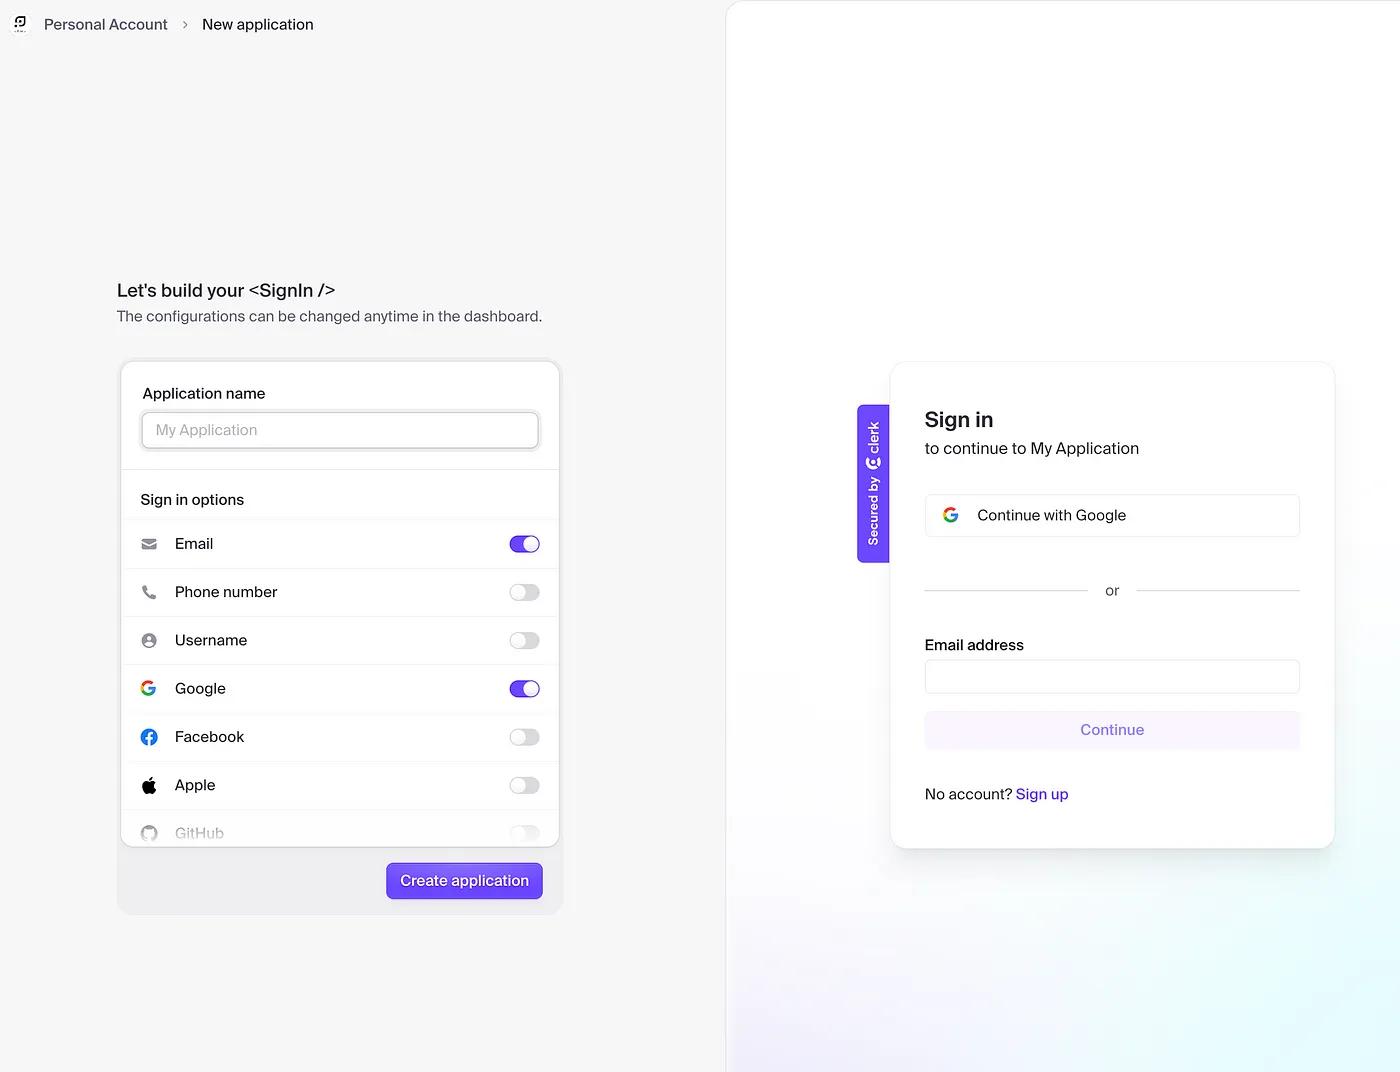
As the first step, please visit Clerk and create an account. After you have created an account, you should create a new application and pre-select the authentication service (you will be able to change this later).
As the next step, go to your app folder, create a .env.local file, and add the keys provided by Clerk.
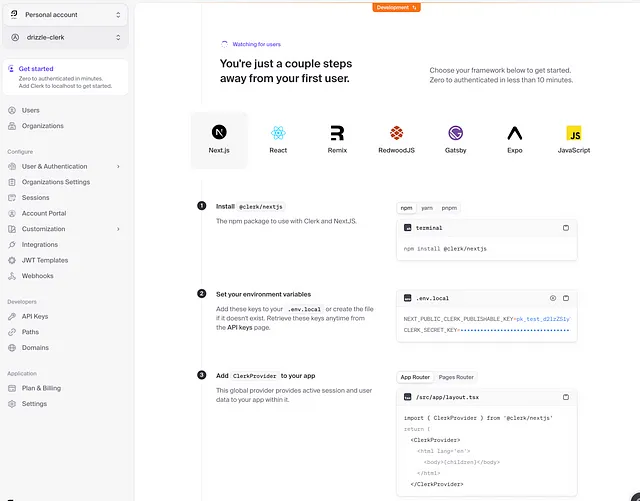
Step 1 - Install Clerk.js for Next.js
npm install @clerk/nextjs
Step 2 - Set your environment variables (it should be already done, as when you created the app, you have received the keys).
Step 3 - Add ClerkProvider inside your layout.tsx file.
import { ClerkProvider } from '@clerk/nextjs'

import type { Metadata } from 'next'
import { Inter } from 'next/font/google'
import './globals.css'

const inter = Inter({ subsets: ['latin'] })

export const metadata: Metadata = {
  title: 'Create Next App',
  description: 'Generated by create next app',
}

export default function RootLayout({
  children,
}: Readonly<{
  children: React.ReactNode,
}>) {
  return (
    <ClerkProvider>
      <html lang="en">
        <body className={inter.className}>{children}</body>
      </html>
    </ClerkProvider>
  )
}
Step 4 - Update your middleware.ts file
Update your middleware file or create one at the root of your project or src/ directory if you’re using a src/ directory structure.
The authMiddleware helper enables authentication and is where you’ll configure your protected routes.
/middleware.ts
Setting “/” as a public route will allow users to access the homepage without being authenticated. You can add more routes to the publicRoutes array as needed.
import { authMiddleware } from '@clerk/nextjs'

export default authMiddleware({
  publicRoutes: ['/'],
})

export const config = {
  matcher: ['/((?!.+.[w]+$|_next).*)', '/', '/(api|trpc)(.*)'],
}
And voila! You have set up the Clerk authentication service within your Next.js app.
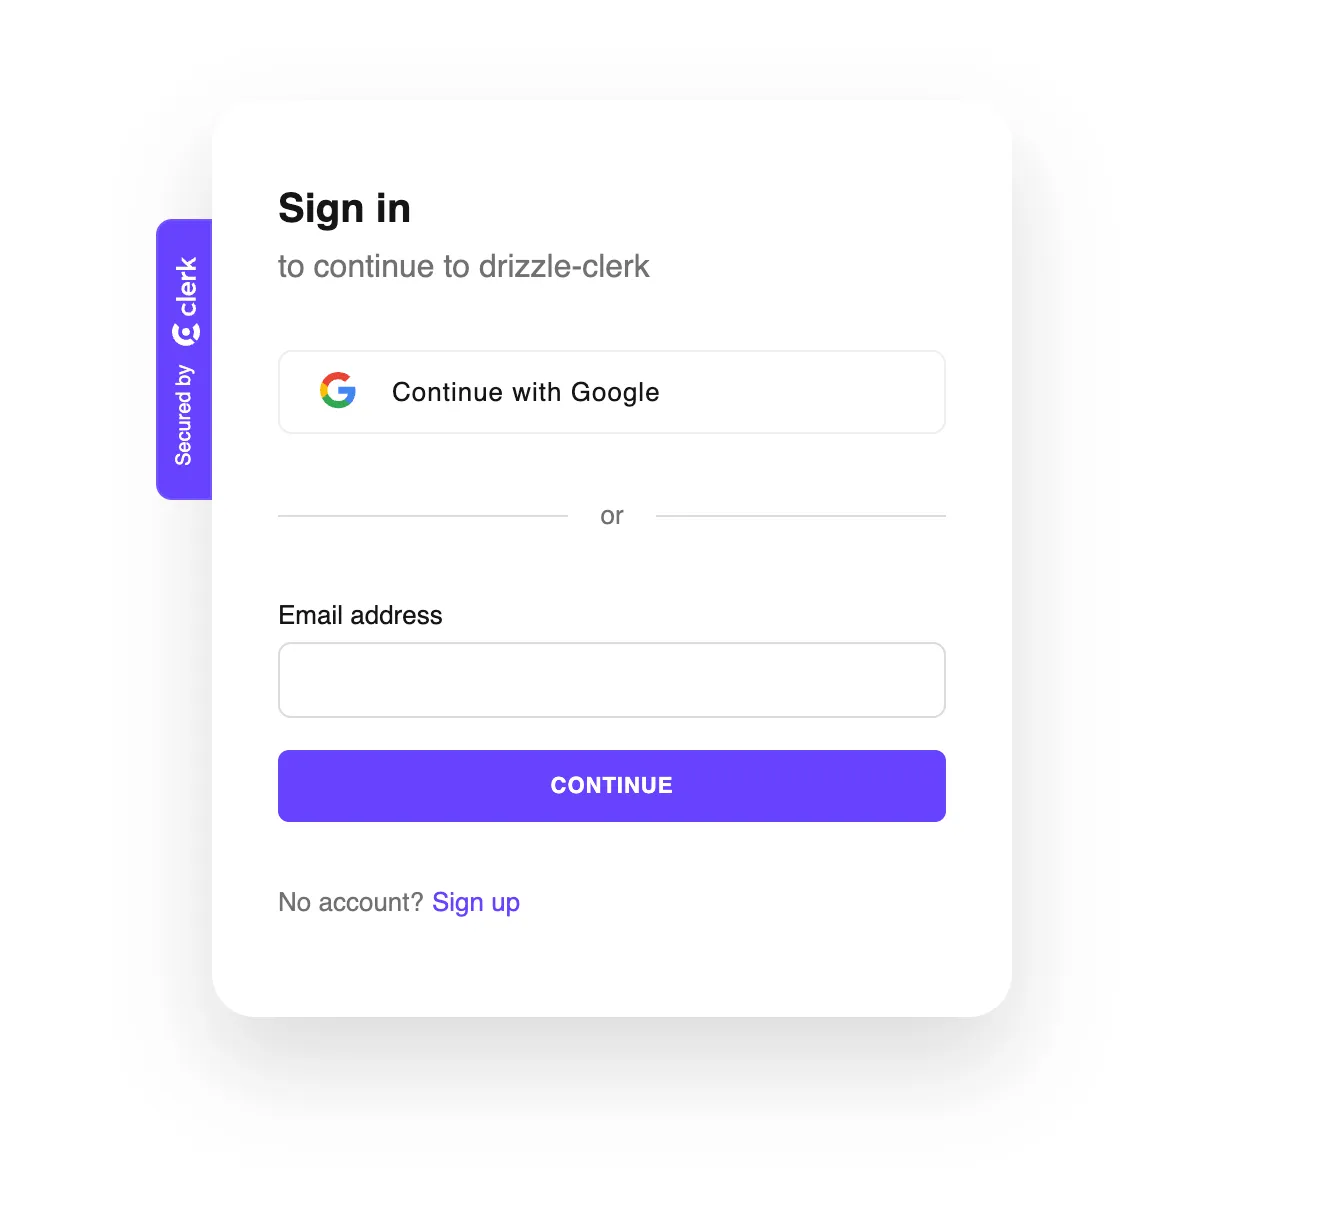
In order to test it, you quickly create a new folder News and page.tsx file within it. And now if you would like to access your localhost:3000/news you should be redirected to the Clerk login page.
Additional Clerk features (latest update)
ClerkLoading
Let’s add a little spinner for the loading state of the Clerk authentication service.
import { ClerkLoading } from '@clerk/nextjs'
import { Loader } from 'lucide-react'

export default function Home() {
  return (
    <main>
      Hello, we will be testing Clerk latest update and Drizzle ORM.
      <div>
        <ClerkLoading>
          <Loader className="text-muted-foreground h-5 w-5" />
        </ClerkLoading>
      </div>
    </main>
  )
}
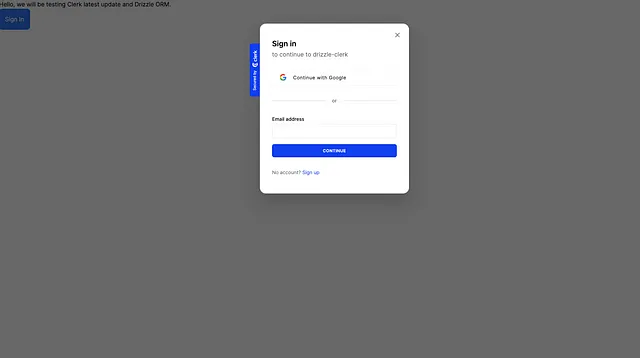
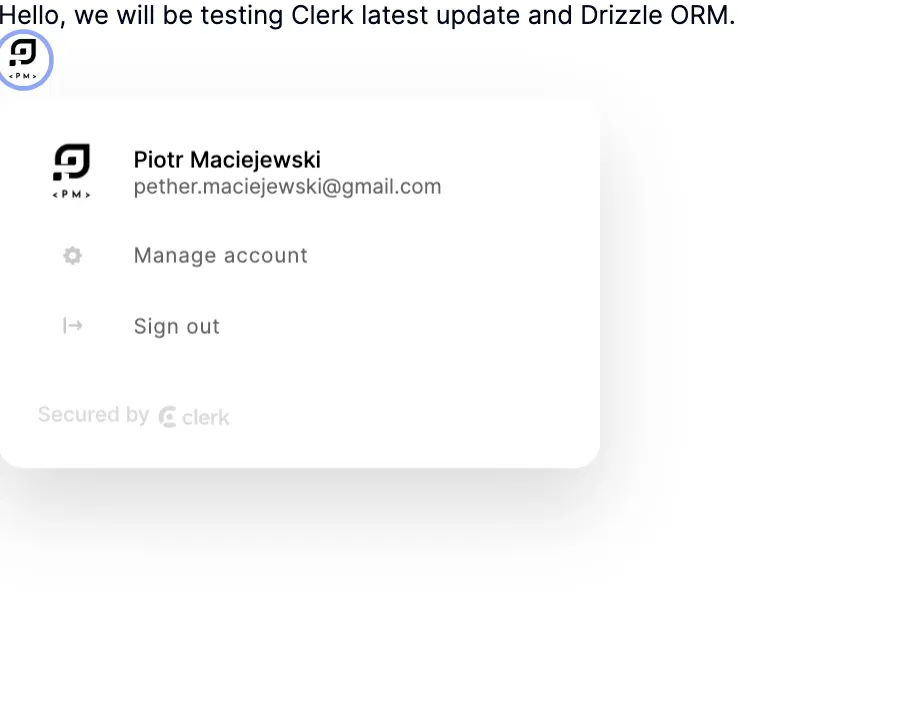
ClerkLoaded, SignedIn, SignedOut, SignInButton, UserButton
Below is an example of how to use ClerkLoaded, SignedIn, SignedOut, SignInButton, and UserButton components. As the latest developments in Clerk.
import {
  ClerkLoading,
  ClerkLoaded,
  SignedIn,
  SignedOut,
  UserButton,
  SignInButton,
} from '@clerk/nextjs'

import { Loader } from 'lucide-react'

export default function Home() {
  return (
    <main>
      Hello, we will be testing Clerk latest update and Drizzle ORM.
      <div className="flex flex-col">
        <ClerkLoading>
          <Loader className="text-muted-foreground h-5 w-5" />
        </ClerkLoading>

        <ClerkLoaded>
          <SignedIn>
            <UserButton afterSignOutUrl="/" />
          </SignedIn>
          <SignedOut>
            <SignInButton
              mode="modal"
              afterSignInUrl="/News"
              afterSignUpUrl="/News"
            >
              <button className="w-fit rounded-lg bg-blue-500 p-4 text-white">
                Sign In
              </button>
            </SignInButton>
          </SignedOut>
        </ClerkLoaded>
      </div>
    </main>
  )
}
Here is the guide for further developments
Time for Drizzle ORM with Neon
Neon describes itself as “The fully managed serverless Postgres with a generous free tier. We separate storage and compute to offer autoscaling, branching, and bottomless storage.”
When you create an account, you will be able to create a new database and get the connection string that looks like this:
postgresql://neondb_owner:************@ep-calm-......
Add the connection string to your .env.local file.
DATABASE_URL=postgresql://neondb_owner:************@ep-calm-......
This is pretty much it for Neon setup. Now let’s move to the Drizzle ORM setup.
Drizzle ORM setup
Head to Drizzle ORM and follow the steps.
Step 1 - Install Drizzle ORM
npm i drizzle-orm @neondatabase/serverless
npm i -D drizzle-kit
Step 2 - Create a new folder named database in your root directory and create a new file drizzle.ts
import { neon } from '@neondatabase/serverless'
import { drizzle } from 'drizzle-orm/neon-http'

import * as schema from './schema'

const sql = neon(process.env.DATABASE_URL!)

const db = drizzle(sql, { schema })

export default db
Step 3 - Create the schema within the database folder.
import { pgTable, serial, text } from 'drizzle-orm/pg-core'

export const courses = pgTable('courses', {
  id: serial('id').primaryKey(),
  title: text('title').notNull(),
  imageSrc: text('image_src').notNull(),
})
Step 4 - In the root of your app, please create drizzle.config.ts file. Also let’s install the dotenv package.
npm i dotenv
import 'dotenv/config'
import type { Config } from 'drizzle-kit'

export default {
  schema: './database/schema.ts',
  out: './drizzle',
  driver: 'pg',
  dbCredentials: {
    connectionString: process.env.DATABASE_URL!,
  },
} satisfies Config
Step 5 (optional) - Add the following script to your package.json file.
"scripts": {
    "db:studio": "npx drizzle-kit studio",
    "db:push": "npx drizzle-kit push:pg",
}
Step 6 — Run the following command to create the database schema.
npm run db:push
and voila! You have set up the Drizzle ORM with Neon. You can now start creating your models and queries also go and check the studio.
npm run db:studio
you may need to install pg package for this:
npm i -D pg
Happy coding :)
Piotr