
Next.js 13 data fetching example with OpenAI. Keyword extractor project.
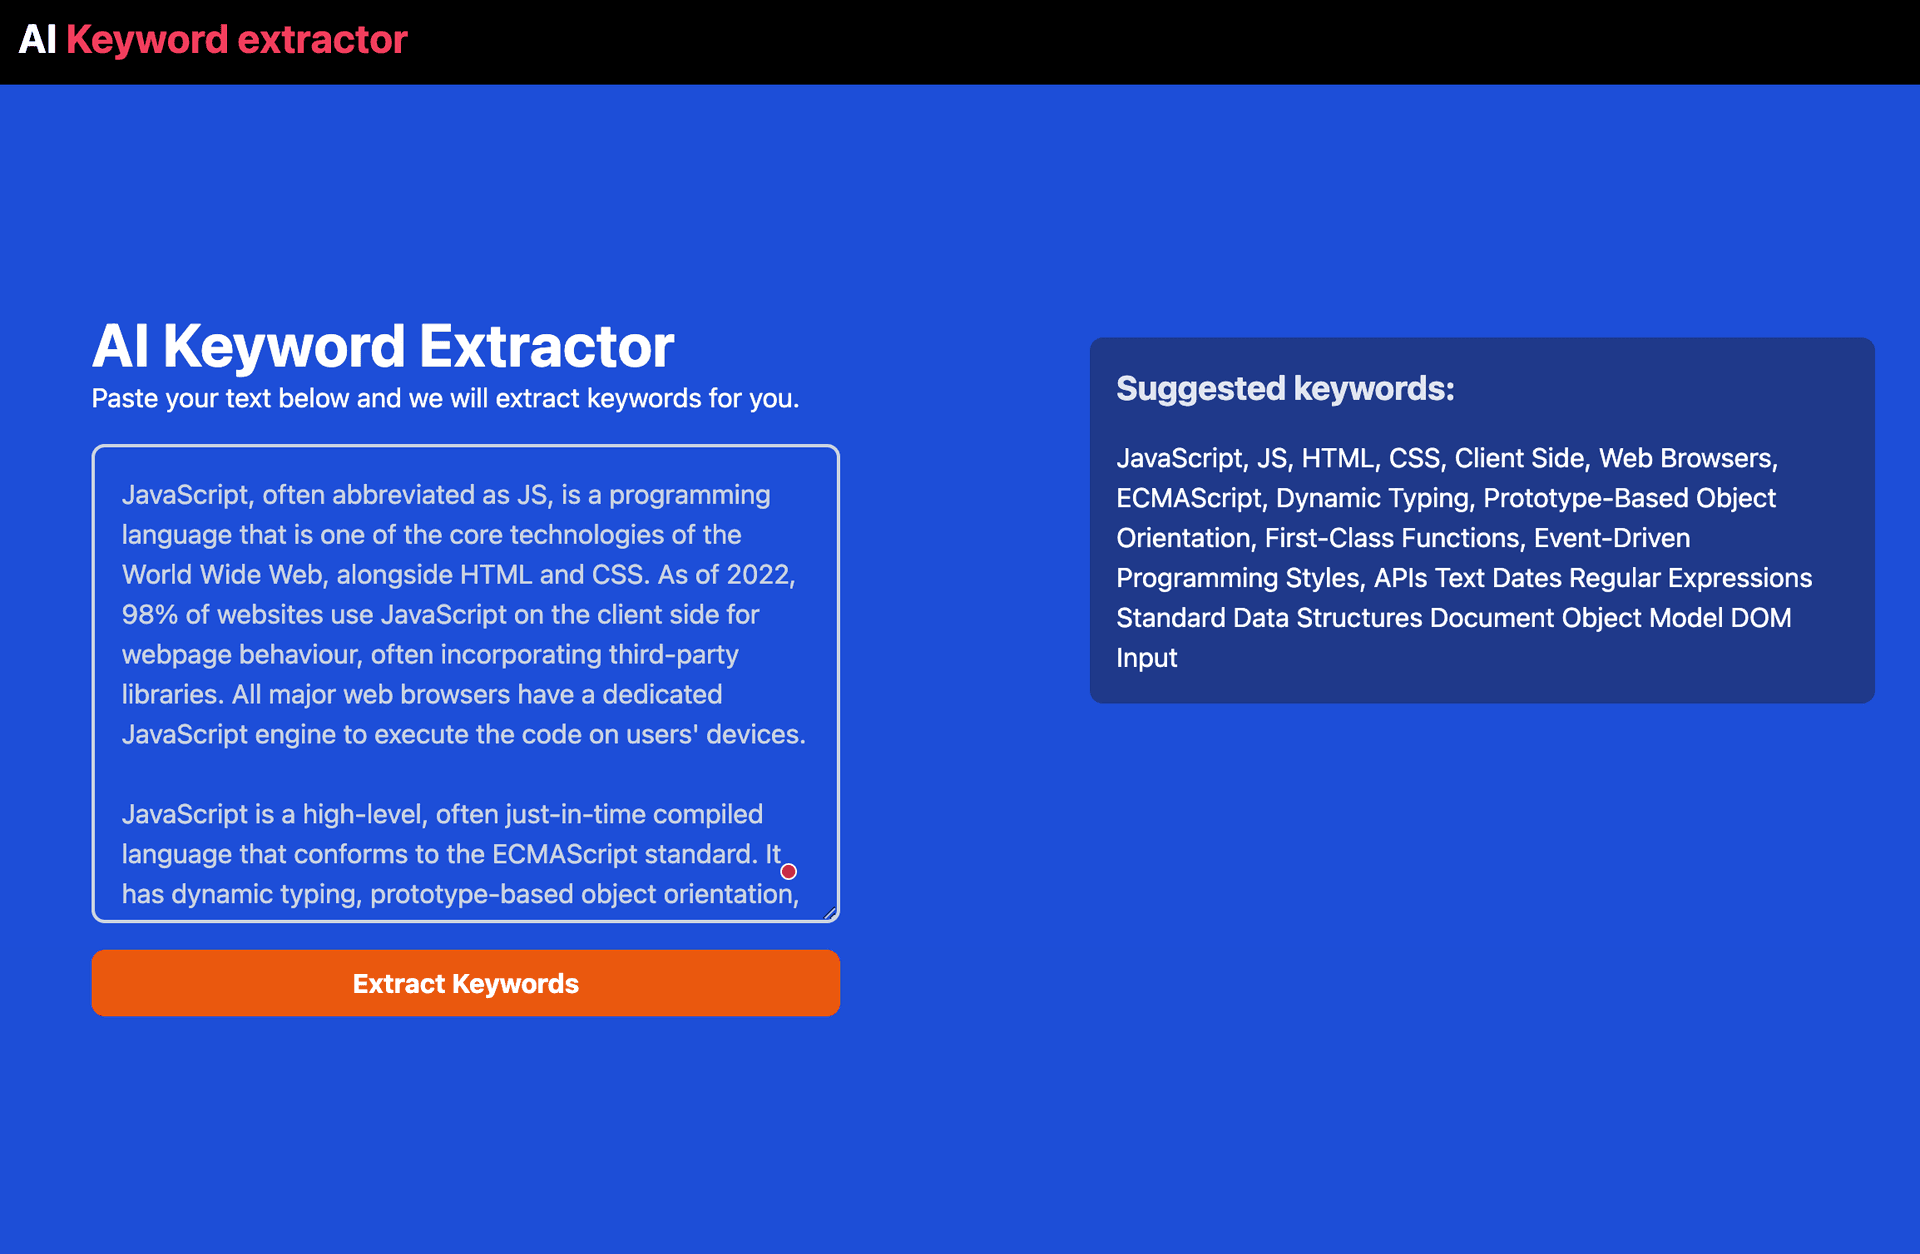
Project demo here. GitHub repo here.
Yes, I accidently uploaded my .env file with my OpenAI API key. I have since deleted it and created a new one. I will be more careful next time, it never happened to me before :)
About Next.js
Next.js is an open-source React front-end development web framework created by Vercel that enables functionality such as server-side rendering and generating static websites for React based web applications. Where traditional React applications render code on the client-side, Next.js allows React components to be rendered on the server-side.
NEXT.JS 13 - USE NEW APP DIRECTORY
The new app directory released in Next.js 13 is (still) an experimental new way to build Next.js apps. It coexists with the pages directory, and we can use it to incrementally migrate an existing project to the new directory structure.
This new directory structure is not just a new way to write apps, it is a whole new routing system underneath, much more powerful than the current one.
Below is an example of Next.js 13 app with the new app directory:
  - src/app
    >api
    >components
    - layout.js
    - page.js
LET'S BEGIN
I will be using TailwindCSS for styling, but you can use any CSS framework you want. See instructions how to add TailwindCSS to Next.js 13 project here.
npx create-next-app keywordextractor
- Removing default Next.js content and preparing
page.jsboilerplate code.
  import { useState } from 'react'
  import { Inter } from 'next/font/google'
  const inter = Inter({ subsets: ['latin'] })

  export default Home() {

    return (
      <div className="mt-24 p-10 max-w-6xl mx-auto flex flex-col md:flex-row">
        <h1>Keyword Extractor</h1>
      </div>
    )

  }
-
Visit OpenAI and create an account. You will need to verify your email address and then you will be able to create an API key.
-
Once your API key is created and safely copied, create
.envfile in the root of your project and paste your API key there.
OPENAI_API_KEY=sk-xxxxxxxxxxxxxxxxxxxxxxxxxxxxxxxxxxxxxxxx
-
Then explore Completions API here as we will be using it to extract keywords from the text.
-
Subsequently we create a
TextInput.jsxcomponent in components folder.
"use client"; // we are specifying that we are using client-side code as we have client interactions
import { useState } from "react";

const TextInput = ({ extractKeywords }) => {
  const [text, setText] = useState("");

  const submitText = () => {
    console.log('submission is working');
    extractKeywords(text);

  };

  return (
    <div className="flex flex-col gap-4">
      <textarea
        value={text}
        onChange={(e) => setText(e.target.value)}
        className="w-full h-72 mt-4 p-4 border-2 border-gray-300 rounded-lg text-slate-300 focus:outline-none bg-transparent"
      />
      <button
        onClick={submitText}
        className="px-4 py-2 bg-orange-600 hover:bg-orange-800 rounded-lg font-bold"
      >
        Extract Keywords
      </button>
    </div>
  );
};

export default TextInput;
- Back in
page.jswe import ourTextInput.jsxcomponent and add it to the page and we createextractKeywords()function that we subsequently passing toTextInput.jsxcomponent. Please read carefully OpenAI documentation to better understand the parameters we are passing in the request i.e.model,prompt,temperature,max_tokens,frequency_penalty.
"use client";

import { useState } from "react";
import Image from "next/image";
import { Inter } from "next/font/google";
import TextInput from "./components/TextInput";

const inter = Inter({ subsets: ["latin"] });

export default function Home() {
  const [keywords, setKeywords] = useState([]);
  const [isOpen, setIsOpen] = useState(false);
  const [loading, setLoading] = useState(false);

  const extractKeywords = async (text) => {
    "use server"; // we are specifying that we are using server-side code as we are making a request to an external API
    console.log(text);

    const options = {
      method: "POST",
      headers: {
        "Content-Type": "application/json",
        Authorization: `Bearer ${process.env.OPENAI_API_KEY}`, // getting API key from .env file
      },
      body: JSON.stringify({
        model: "text-davinci-003",
        prompt:
          "Extract keywords from the following text. Make the first letter of each word uppercase and separate with commas\n\n" +
          text +
          "\n\n",
        temperature: 0.5,  // how much randomness to inject into the text
        max_tokens: 60, // how many words to generate
        frequency_penalty: 0.8, // how much to penalize new tokens based on their existing frequency in the text
      }),
    };

    const response = await fetch(
      "https://api.openai.com/v1/completions",
      options
    );

    const json = await response.json();
    const data = json.choices[0].text.trim();

    console.log(data);
    setKeywords(data);
    setLoading(false);
  };

  // WE ARE PASSING extractKeywords() FUNCTION TO TextInput.jsx COMPONENT
  return (
    <div className="mt-24 p-10 max-w-6xl mx-auto flex flex-col md:flex-row">
      <div className="">
        <h1 className="text-4xl font-bold">AI Keyword Extractor</h1>
        <div>
          <h2>Paste your text below and we will extract keywords for you.</h2>
          <div className="flex md:w-[600px] items-start space-x-12">
            <div className="w-[320px] md:w-[450px]">
              <TextInput extractKeywords={extractKeywords} />
            </div>
          </div>
        </div>
      </div>
      <div className="flex w-full items-start space-x-12">
        <div className="mt-4">
          // Place where we will display keywords through TextOutput.jsx component to be created
        </div>
      </div>
    </div>
  );
- We create
TextOutput.jsxcomponent in components folder and we passkeywordsas a prop to it.
const TextOutput = ({ keywords }) => {
 const text = keywords;

  return (
    <div className="flex flex-col gap-4 bg-blue-900 p-4 rounded-lg">
      <div className="rounded-lg">
        <h1 className="text-slate-200 text-xl font-bold mb-4">Suggested keywords:</h1>
        <div>
          <p>{text}</p>
        </div>
      </div>
    </div>
  );
};

export default TextOutput;
- Back in
page.jswe importTextOutput.jsxcomponent and add it to the page.
import TextOutput from "./components/TextOutput";


....

return (
    <div className="mt-24 p-10 max-w-6xl mx-auto flex flex-col md:flex-row">
      <div className="">
        <h1 className="text-4xl font-bold">AI Keyword Extractor</h1>
        <div>
          <h2>Paste your text below and we will extract keywords for you.</h2>
          <div className="flex md:w-[600px] items-start space-x-12">
            <div className="w-[320px] md:w-[450px]">
              <TextInput extractKeywords={extractKeywords} />
            </div>
          </div>
        </div>
      </div>
      <div className="flex w-full items-start space-x-12">
        <div className="mt-4">
          <TextOutput keywords={keywords} /> // passing keywords as a prop to TextOutput.jsx component
        </div>
      </div>
    </div>
  );

....
- We are done with the code. Now we need to deploy our app to Vercel. We need to create a new project in Vercel and connect it to our GitHub repository. After that we need to add our OpenAI API key to Vercel environment variables. We can do that by going to
Settingsand thenEnvironment Variablesand addingOPENAI_API_KEYvariable. We can get our API key from OpenAI dashboard.
CONCLUSION
My intention was to show you how Next.js 13 new features can be used to create a simple app along with new data fetching and server-side code features.
We have used Next.js 13 new app directory feature to organize our code. We have used Next.js 13 new server-side code feature to make a request to an external API. We have used Next.js 13 new environment variables feature to store our API key. We also used Tailwind CSS.